- Products ProductsLocation Services
Solve complex location problems from geofencing to custom routing
PlatformCloud environments for location-centric solution development, data exchange and visualization
Tracking & PositioningFast and accurate tracking and positioning of people and devices, indoors or outdoors
APIs & SDKsEasy to use, scaleable and flexible tools to get going quickly
Developer EcosystemsAccess Location Services on your favorite developer platform ecosystem
- Documentation DocumentationOverview OverviewServices ServicesApplications ApplicationsDevelopment Enablers Development EnablersContent ContentHERE Studio HERE StudioHERE Workspace HERE WorkspaceHERE Marketplace HERE MarketplacePlatform Foundation and Policy Documents Platform Foundation and Policy Documents
- Pricing
- Resources ResourcesTutorials TutorialsExamples ExamplesBlog & Release Announcements Blog & Release AnnouncementsChangelog ChangelogDeveloper Newsletter Developer NewsletterKnowledge Base Knowledge BaseFeature List Feature ListSupport Plans Support PlansSystem Status System StatusLocation Services Coverage Information Location Services Coverage InformationSample Map Data for Students Sample Map Data for Students
- Help
Last Updated: July 24, 2020
Introduction
Duration is 4 min
This developer lab will walk you through the steps to add a Map to the sample web application Waterfall Express.
Scenario
You are creating the web site for a start-up specializing in bespoke Adventure Travel Itineraries: Waterfall Express.
Clients select their starting point and multiple destinations by searching for locations of interest, and Waterfall Express then plans and displays the route based on the client’s preferred mode of transport.
This is the first step of several towards a feature rich online experience, with this developer lab focusing on the tasks of publishing the single-page web application and then adding a map to the web application by adding JavaScript.
What is a JavaScript Map API
The HERE Technologies JavaScript Map API lets you “put the map in your app”.
“The HERE JavaScript API offers easy-to-use libraries of classes and methods with great processing speed and faster loading times for both desktop and mobile.”
What you’ll learn
- How to use AWS S3 to publish a “Single-Page Application” (SPA)
- How to use the HERE Map JavaScript API
What you’ll need
- Access to an account with HERE Location Services
- Access to an account with Amazon Web Services (AWS)
Get set up
Duration is 3 min
Set up a HERE Location Services Account
Set up an account with HERE Location Services, either Basic (free) or Free Trial.
Set up an AWS Account
Set up an account with Amazon Web Services (AWS).
Deploy the sample
Duration is 3 min

We will deploy the existing sample web site to AWS. The site is designed as a “Single Page Application” (SPA) which means no server-side processing is required. Thus we can deploy the site anywhere that we can host the files. In this developer lab we will use AWS S3.
Set up an S3 Bucket
We will place the files from the sample site into an “S3 bucket”. This the equivalent of a Folder.
Navigate to the AWS Console and search for “S3”.
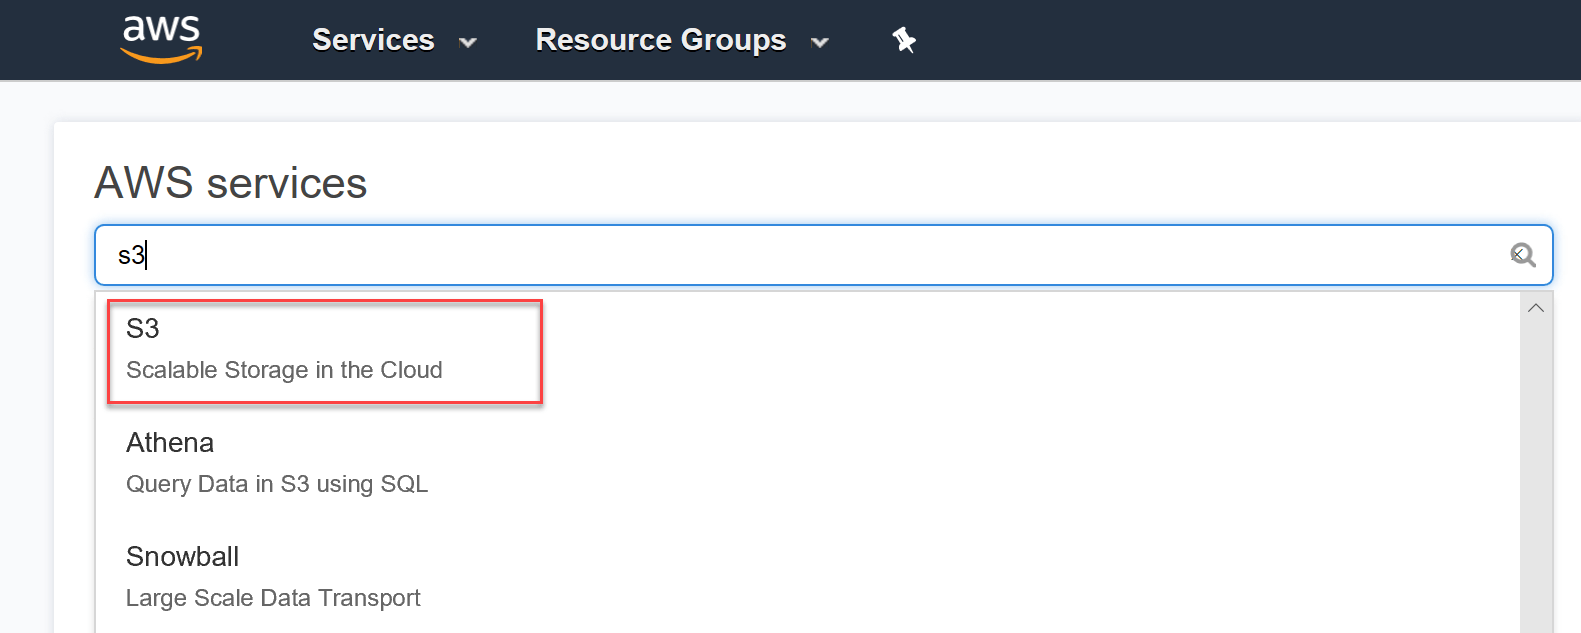
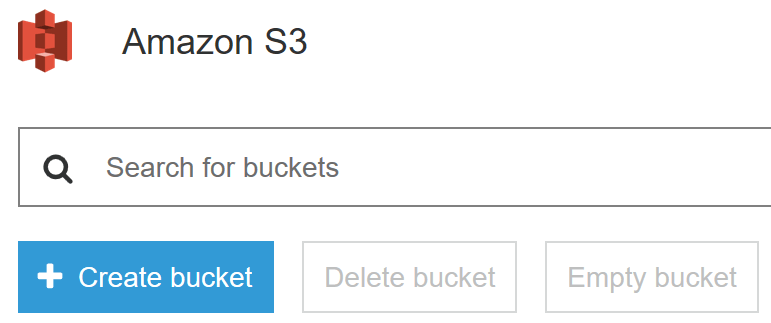
In the AWS Console for S3 click the button “Create Bucket”.
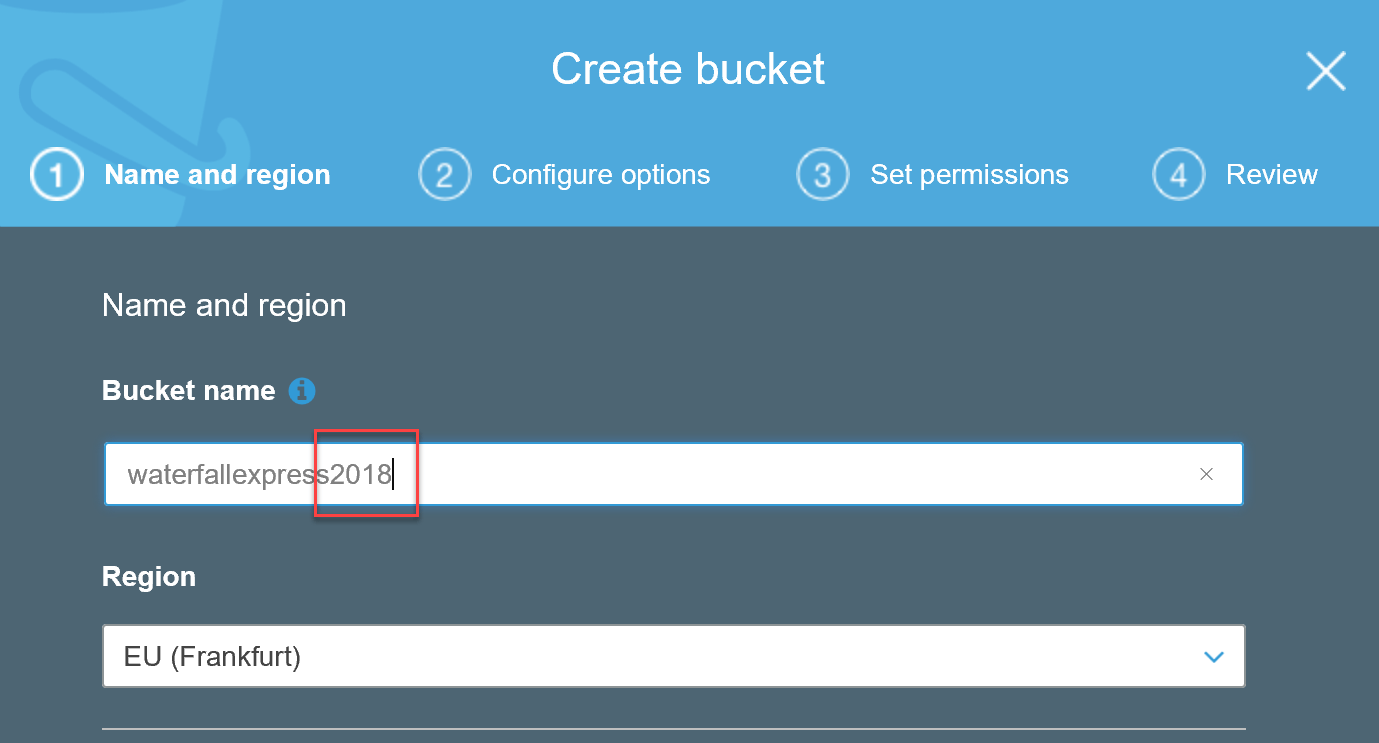
Provide a unique name for the new bucket. This may be a challenge as other people would have completed this developer lab already, so be creative!
Click the button “Next” to proceed to the second step, “Configure Options” and then click the “Next” button again to proceed to “Set permissions”.
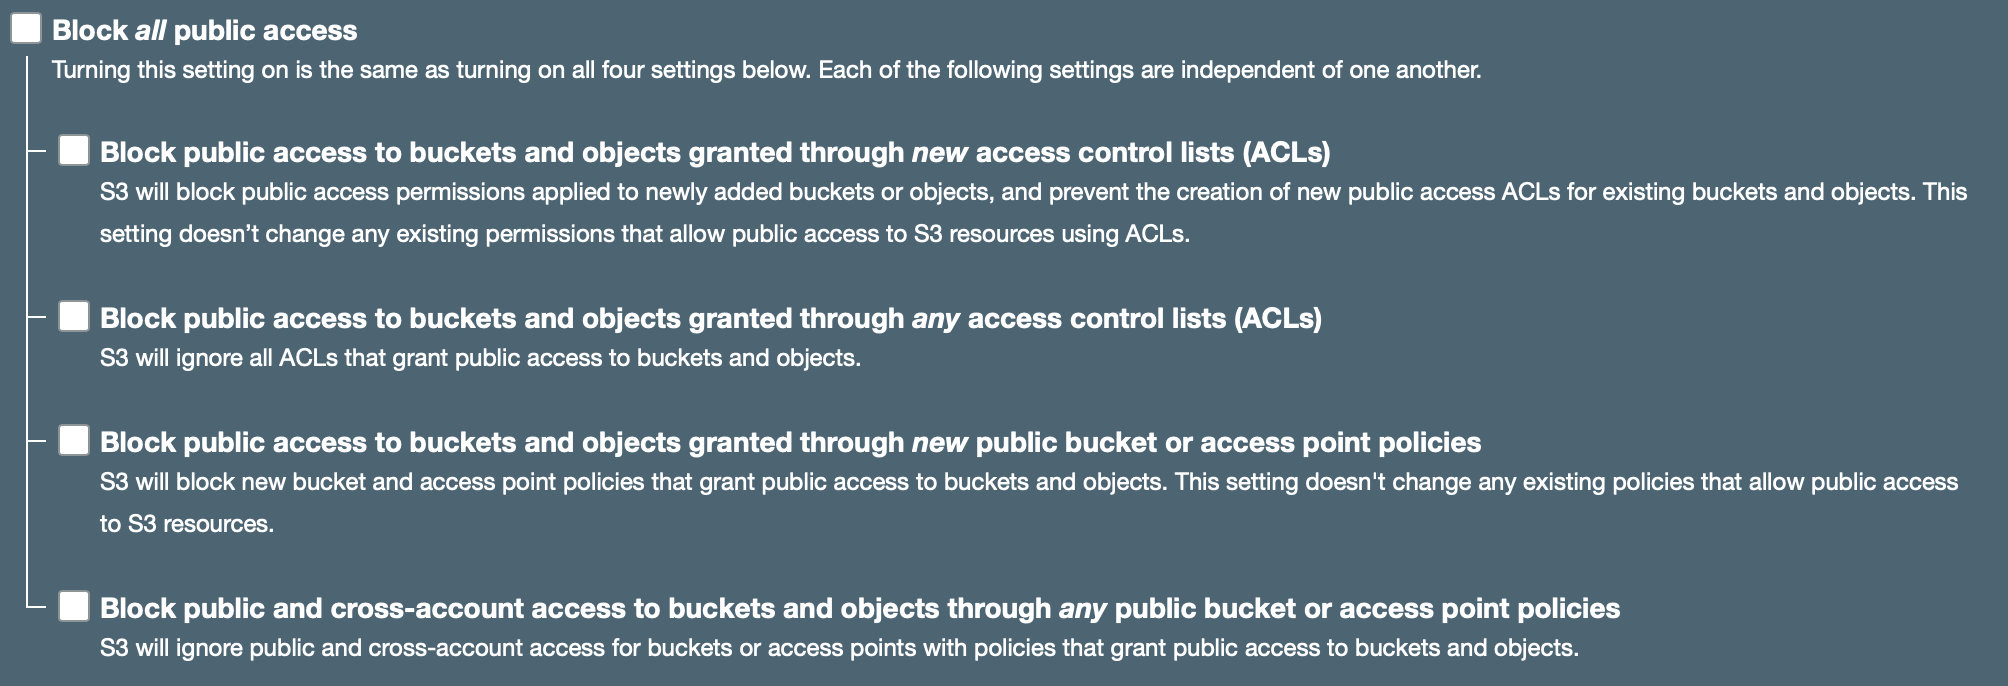
On the “Set permissions” screen go ahead and clear all the checkboxes as in the screenshot below. We intend to set the whole of the bucket public so the general public internet can reach our web site.
Click the button “Next” and review the selected configuration before proceeding: note the __name __of the bucket for future use, and note the Region.
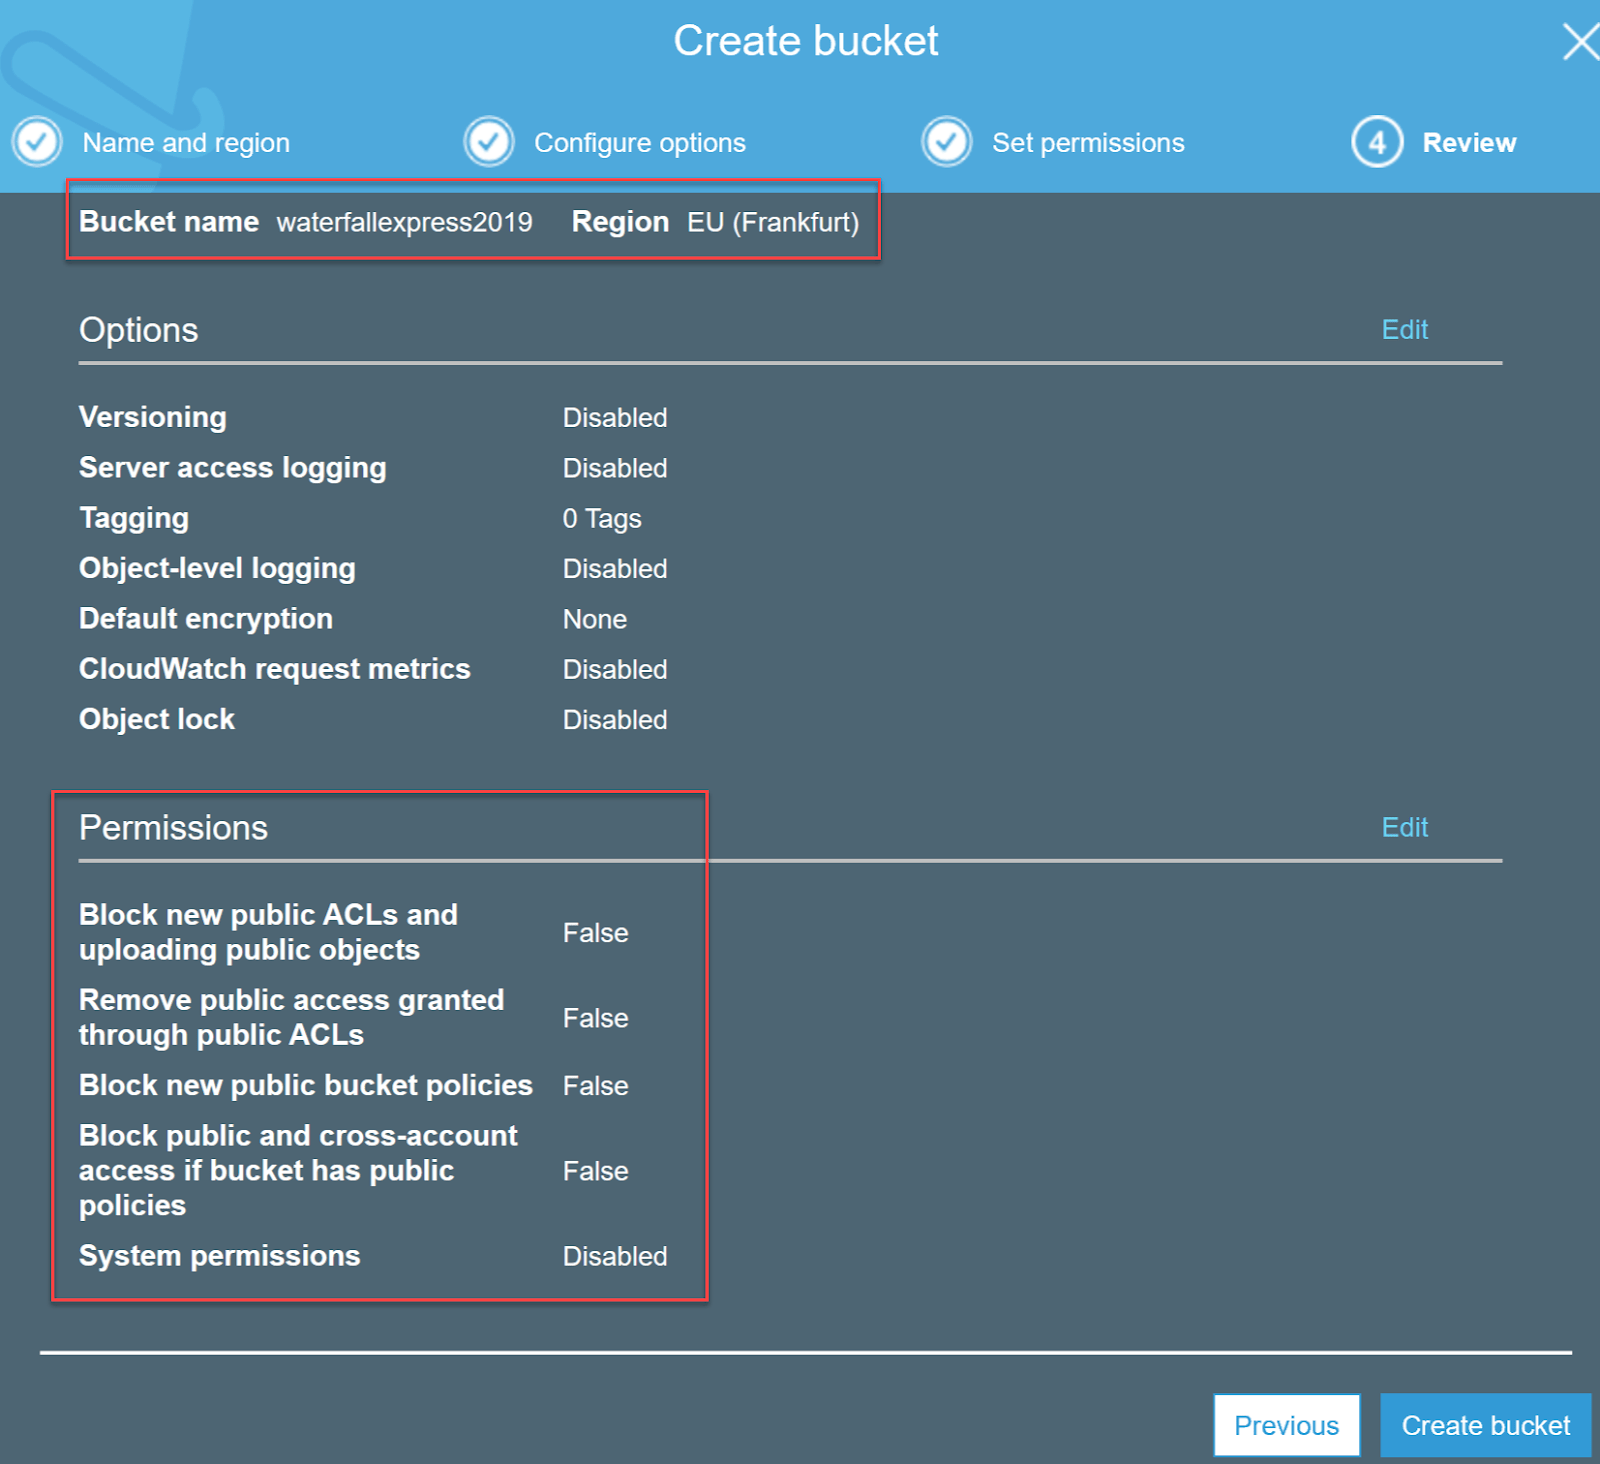
Click the button “Create bucket” to complete the wizard. Note the warning about the Access: “Objects can be Public” - this is intentional because we want our web site to be reachable for all users.
Click on the name of the new bucket and then click on Permissions, then “Bucket Policy”. Paste the below snippet into the editor to grant public read access to the bucket and thus the web site.
Do replace the name "waterfallexpress____" with the unique name of your S3 bucket.
{
    "Version": "2012-10-17",
    "Statement": [
        {
            "Action": [
                "s3:GetObject",
                "s3:ListBucket"
            ],
            "Effect": "Allow",
            "Resource": [
                "arn:aws:s3:::waterfallexpress____",
                "arn:aws:s3:::waterfallexpress____/*"
            ],
            "Principal": "*"
        }
    ]
}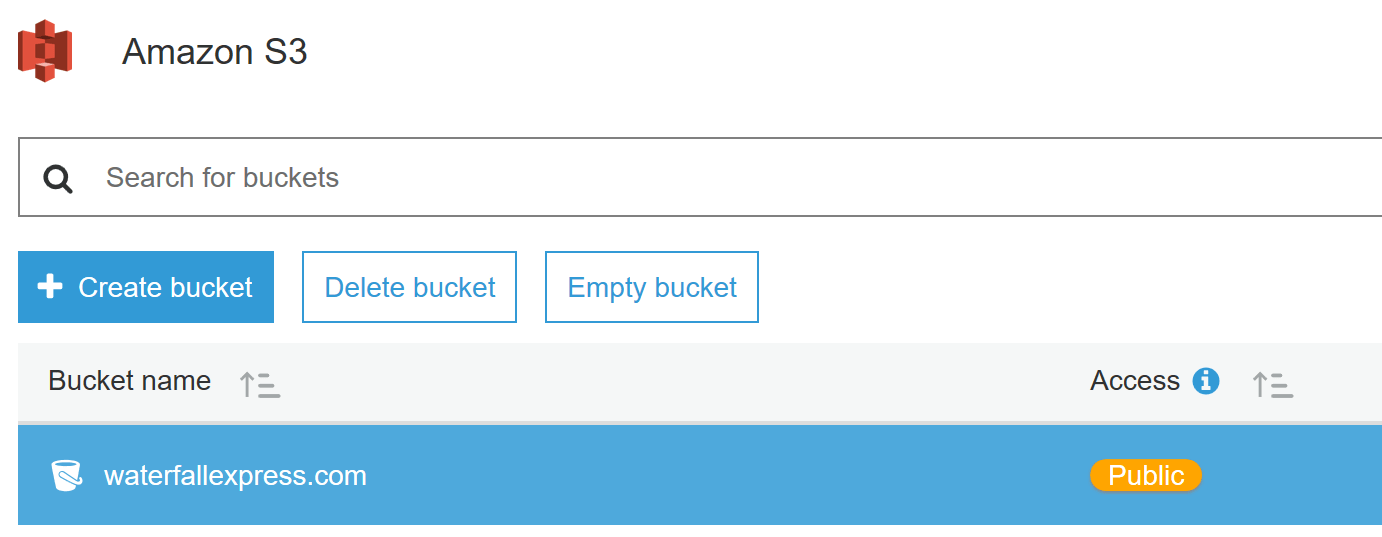
In the screenshot above you can see I picked the DNS name of my website as the name for the S3 bucket. This is not required, but does help when you start adding more advanced features, for example with AWS Route 53 and AWS CloudFront, but these are beyond the scope of this developer lab.
Upload the Sample Web Site
The starting point for this exercise is a web page without a map. It is available for download and named “index.begin1.html”.
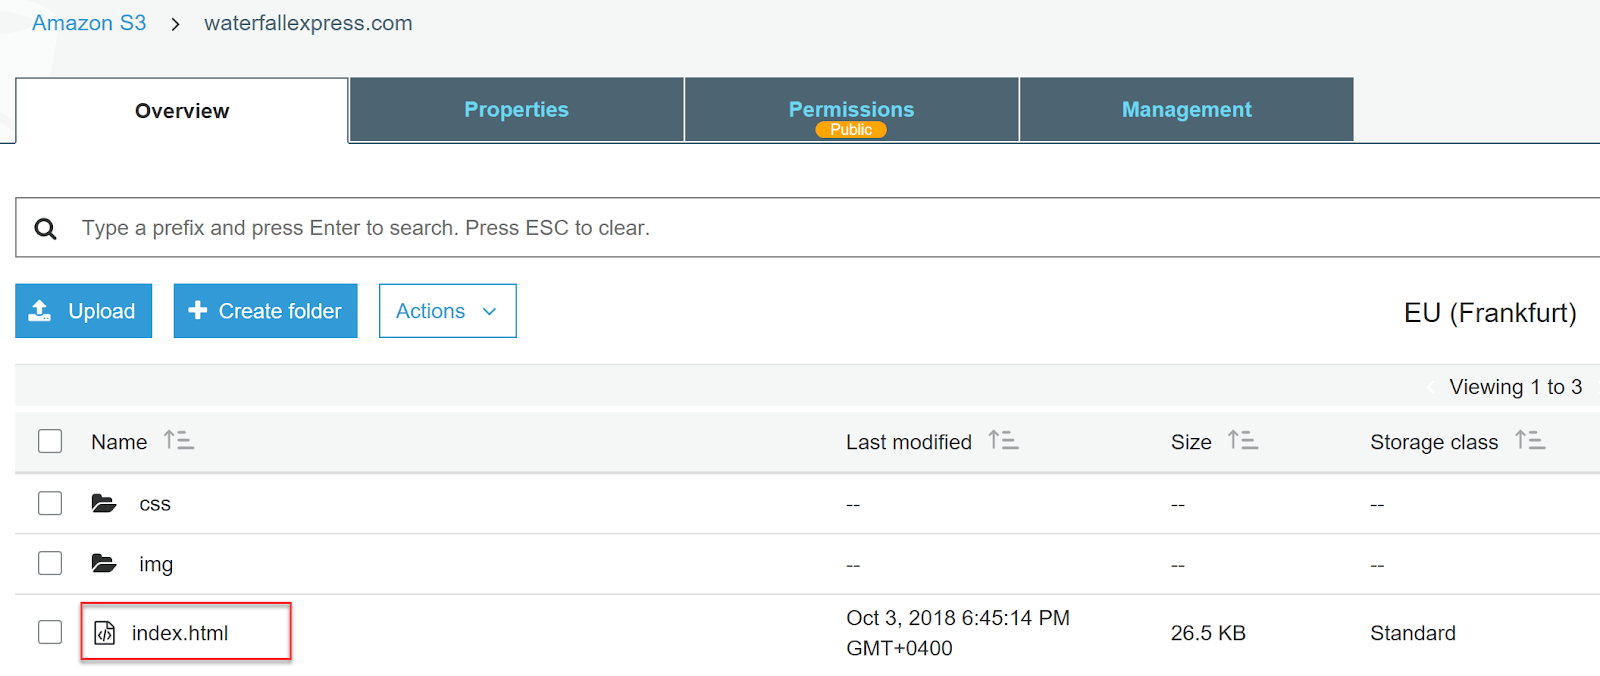
Download the file, then rename the html file so that the name is “index.html”, then upload it as “index.html” to the S3 bucket.
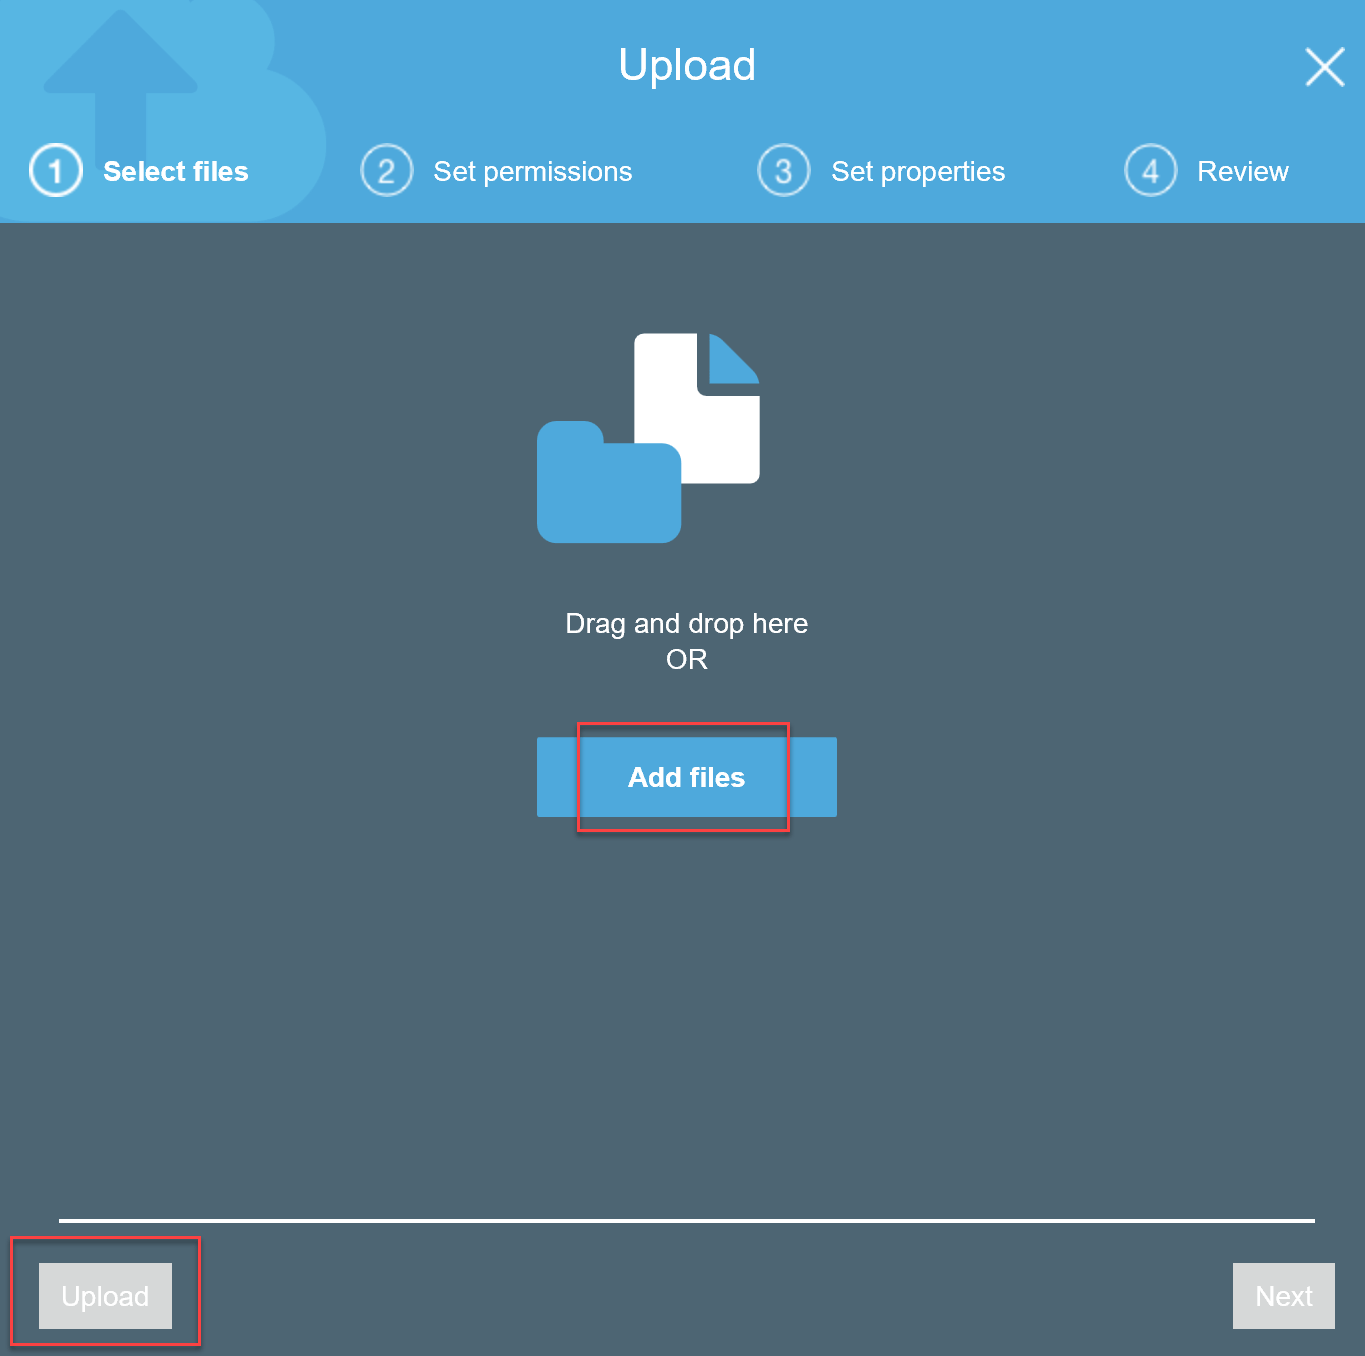
Click on the name of the new S3 bucket, then click the button “Upload”.
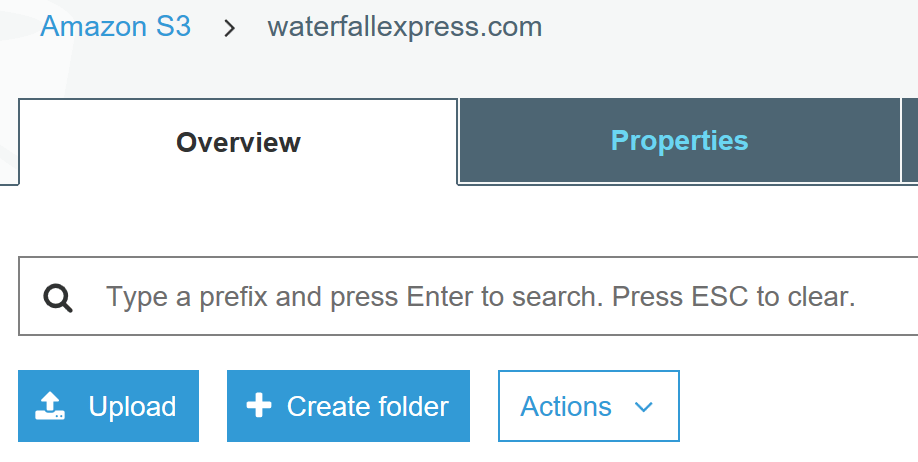
On the Upload page, click “Add files” and select index.html, then click Upload.
Configure Hosting on S3
Navigate to the Properties tab and select “Static website hosting”

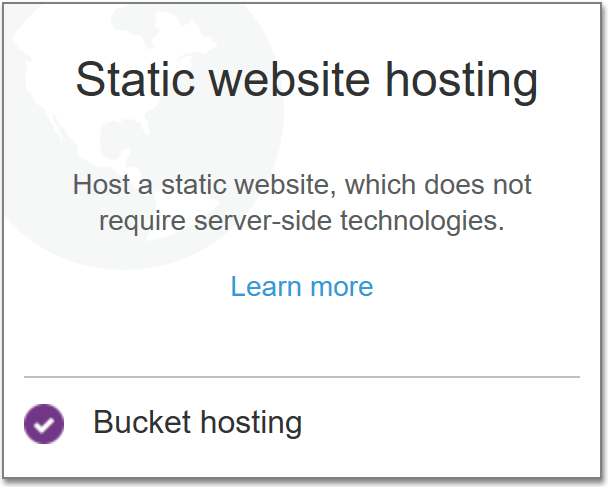
Select “Use this bucket to host a website” and enter the name “index.html” in both textboxes.
For more advanced scenarios the valid page and the error page are both routed to the same URL to support the SPA model. Our example is not dependent on this behavior but it is worth configuring correctly from the start.

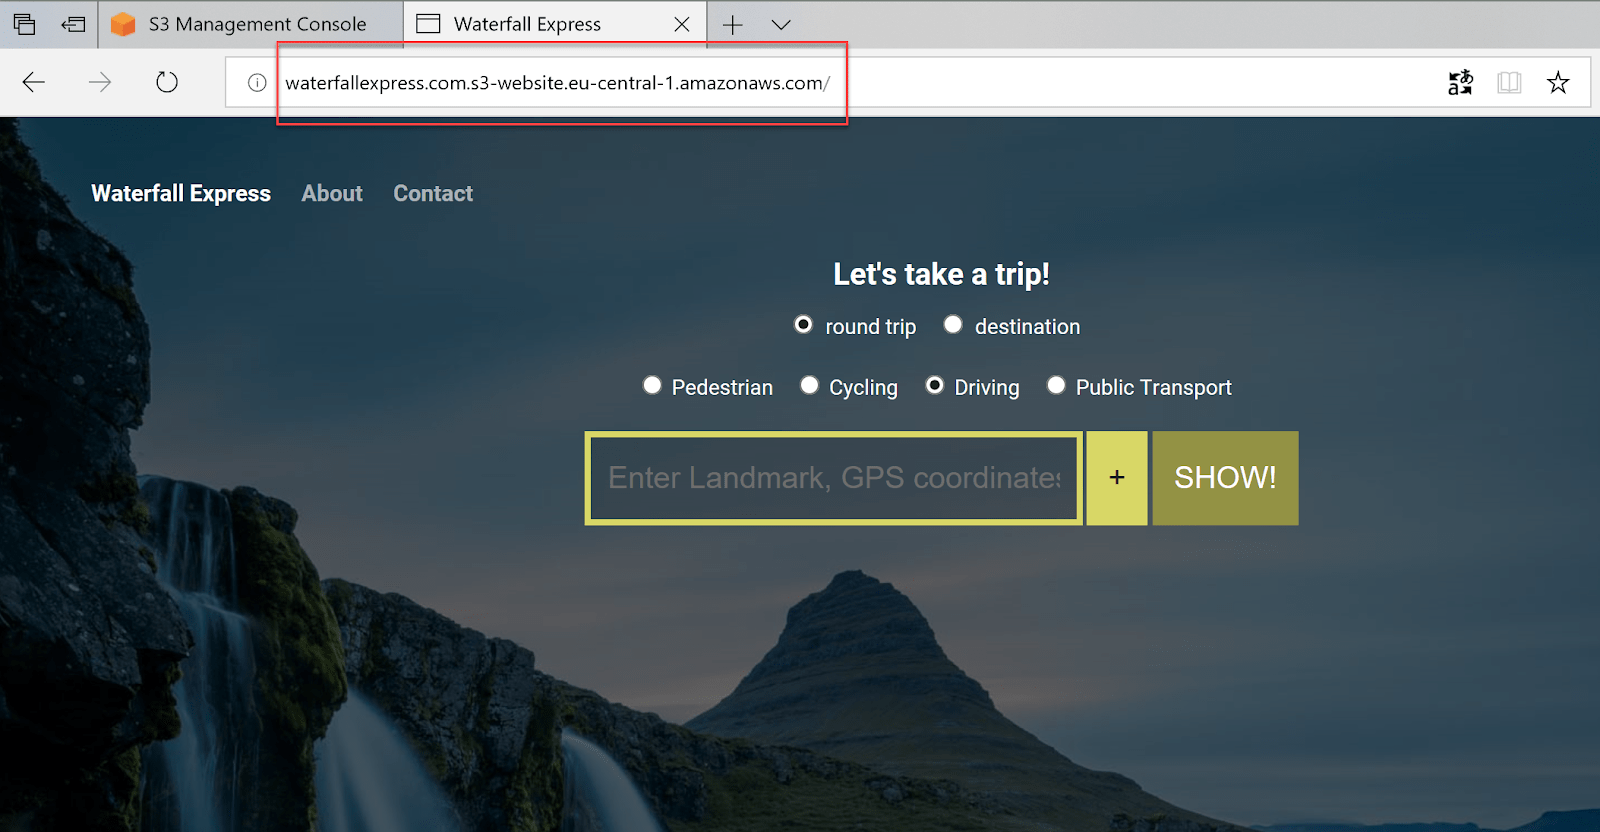
Note down the “Endpoint” - you will need that URL again! - and then click the button “Save”.
Open a new Tab in the Browser and navigate to the “Endpoint”. The sample web site should be displayed.
Add the Map
Duration is 12 min
In this step we will add JavaScript into the sample web site to dynamically create the HERE Technologies Map and add the Map to an existing HTML element.
Add the following JS references into the <head> element of the page.
Copy and paste the below code snippet:
<link rel="stylesheet" type="text/css" href="https://js.api.here.com/v3/3.0/mapsjs-ui.css?dp-version=1533195059" />

<script type="text/javascript" src="https://js.api.here.com/v3/3.1/mapsjs-core.js"></script>
<script src="https://js.api.here.com/v3/3.1/mapsjs-core-legacy.js"
type="text/javascript" charset="utf-8"></script>
<script type="text/javascript" src="https://js.api.here.com/v3/3.1/mapsjs-service.js"></script>
<script src="https://js.api.here.com/v3/3.1mapsjs-service-legacy.js"
type="text/javascript" charset="utf-8"></script>
<script type="text/javascript" src="https://js.api.here.com/v3/3.1/mapsjs-ui.js"></script>
<script type="text/javascript" src="https://js.api.here.com/v3/3.1/mapsjs-mapevents.js"></script>
Find the below comment in the source file and then paste the line of JavaScript just after the line indicating the start of the developer lab:

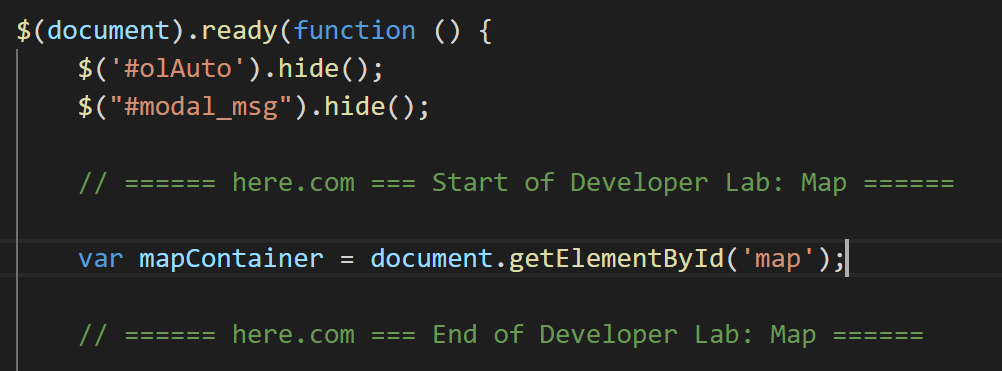
The below JavaScript determines where in the HTML document the map will be placed by obtaining the HTML element into which the map will be loaded:
var mapContainer = document.getElementById('map');Note the location where the new line is to be added as per the screenshot below:
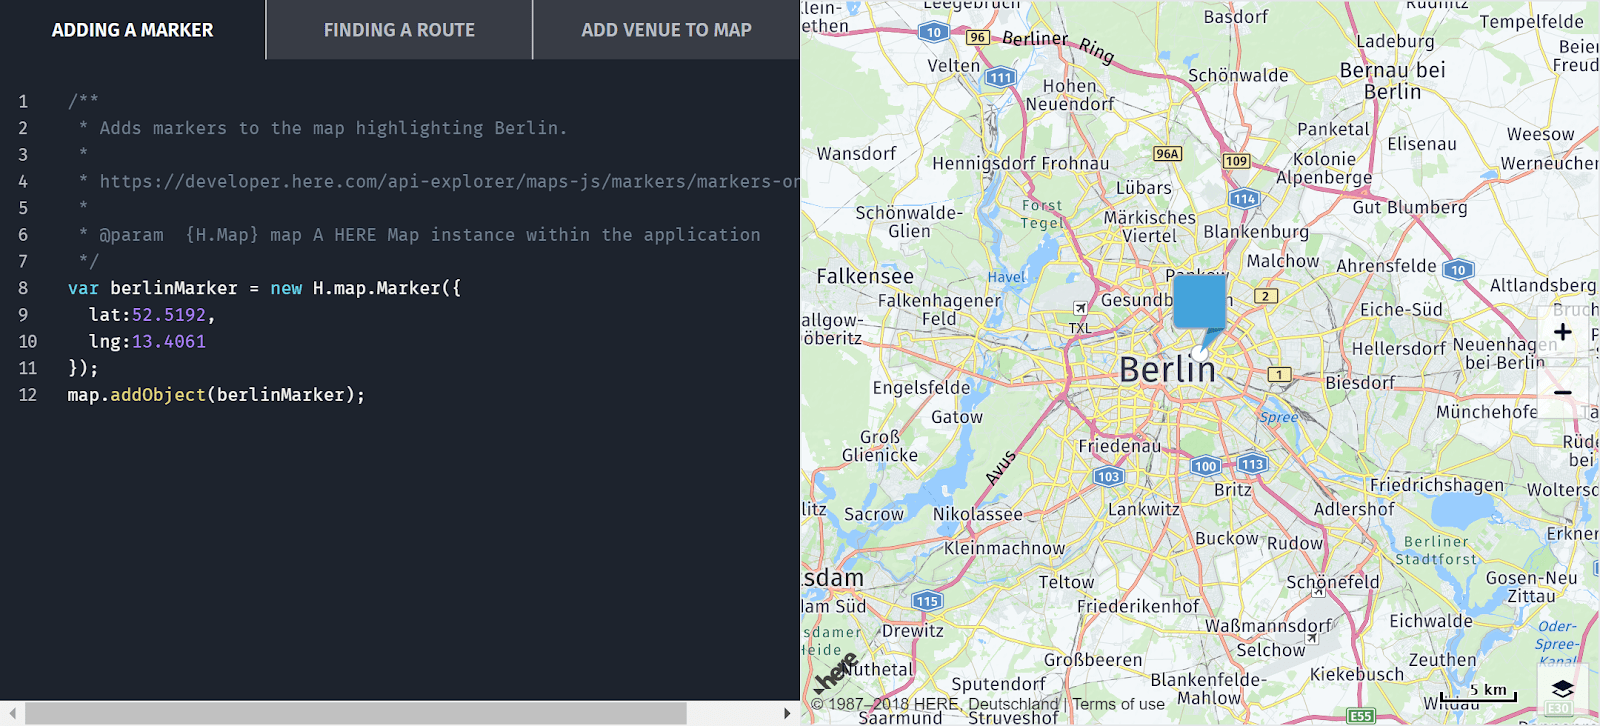
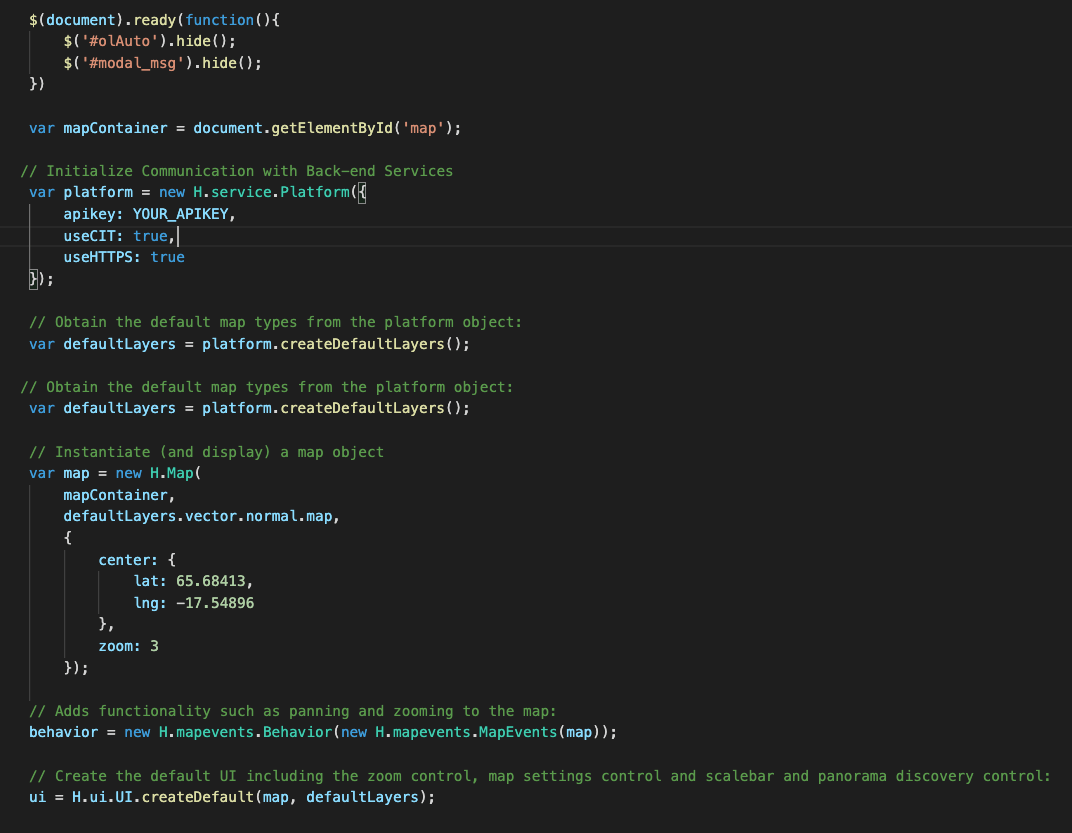
Creating the Map in JavaScript can be very simple, but in the below example we elaborate the code to accommodate two key additional features: the event handler to allow for adding content onto the map, and for enabling interactivity of the map itself (zoom, pan, etc.).
Add the code that creates a Platform service object. This object holds the credentials required to access the service, and settings related to the connection in general.
// Initialize Communication with Back-end Services
platform = new H.service.Platform({
    apikey: '{YOUR_APIKEY}',
    useCIT: true,
    useHTTPS: true
});
Add the code that creates the map visual with a default display configuration:
// Obtain the default map types from the platform object:
var defaultLayers = platform.createDefaultLayers();

// Instantiate (and display) a map object
map = new H.Map(
    mapContainer,
     defaultLayers.vector.normal.map,
    {
        center: {
            lat: 65.68413,
            lng: -17.54896
        },
        zoom: 3
    });
Add the code that provides the typical map behavior and user experience of scrolling and panning:
// Adds functionality such as panning and zooming to the map:
behavior = new H.mapevents.Behavior(new H.mapevents.MapEvents(map));
// Create the default UI including the zoom control, map settings control and scalebar and panorama discovery control:
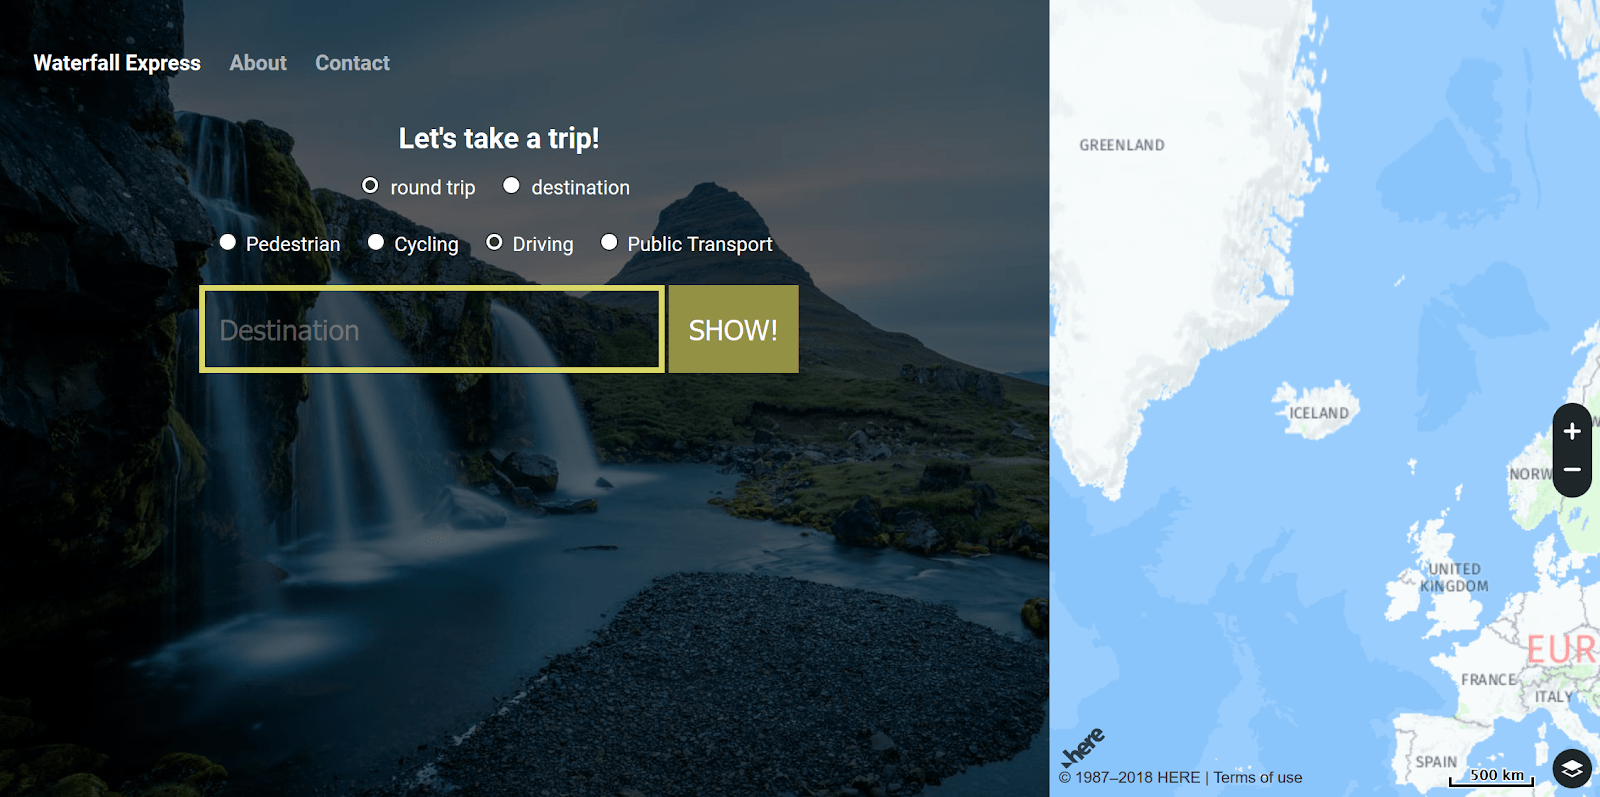
ui = H.ui.UI.createDefault(map, defaultLayers);The end result should appear as in the screenshot below:
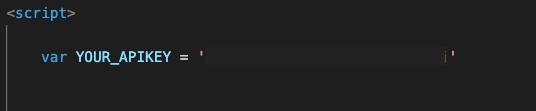
Notice the reference to the variable YOUR_APIKEY. This variable is declared at the top of the file. Replace their values with the ID and Code obtained from here.com during the initial setup:
The map is shown and hidden based on user input (by clicking the button labeled “Show”) and hence additional code has been added to manipulate the map visibility as per user interactions.
With all of the above code in place, upload the updated index.html file to the S3 bucket and view the page in a browser, then click the button “Show” to reveal the map:
Review
Duration is 2 min
Click the button “Show” and when you see the map you have successfully completed this lab!
Congratulations on completing this developer lab!