- 製品 製品ロケーションサービス
ジオフェンスからカスタム ルート検索まで、ロケーションに関する複雑な課題を解決します
プラットフォームロケーションを中心としたソリューションの構築、データ交換、可視化を実現するクラウド環境
トラッキングとポジショニング屋内または屋外での人やデバイスの高速かつ正確なトラッキングとポジショニング
API および SDK使いやすく、拡張性が高く、柔軟性に優れたツールで迅速に作業を開始できます
開発者エコシステムお気に入りの開発者プラットフォーム エコシステムでロケーションサービスにアクセスできます
- ドキュメント ドキュメント概要 概要サービス サービスアプリケーション アプリケーションSDKおよび開発ツール SDKおよび開発ツールコンテンツ コンテンツHERE Studio HERE StudioHERE Workspace HERE WorkspaceHERE Marketplace HERE Marketplaceプラットフォーム基盤とポリシーに関するドキュメントプラットフォーム基盤とポリシーに関するドキュメント
- 価格
- リソース リソースチュートリアル チュートリアル例 例ブログとリリースの公開 ブログとリリースの公開変更履歴 変更履歴開発者向けニュースレター 開発者向けニュースレターナレッジベース ナレッジベースフィーチャー 一覧フィーチャー 一覧サポートプラン サポートプランシステムステータス システムステータスロケーションサービスのカバレッジ情報ロケーションサービスのカバレッジ情報学習向けのサンプルマップデータ学習向けのサンプルマップデータ
- ヘルプ
交通状況の確認
専用のTrafficEngineを使用すると、事故、建設工事、道路閉鎖などの現在の交通障害について、詳細かつローカライズ可能な情報を照会できます。
1 行のコードでマップ レイヤー 状態trafficIncidents を有効にすることで、マップ上の交通障害を視覚化できます。 HERE SDK は 、レイヤーtrafficFlowを追加することで現在のトラフィック状況を確認するための別のレイヤーもサポートしています。
また、経路情報 セクションに示されているように、インスタンスRouteに沿ったトラフィックを指定することもできます。
リアルタイムの交通状況とインシデントをマップに表示
マップ レイヤーの状態trafficIncidentsを有効にすると、マップ上の交通障害を簡単に視覚化できます。 HERE SDK は、現在のトラフィック状況を確認するための別のレイヤーもサポートしています。 マップ上のレイヤーを表示または非表示にする方法については、以下の例を参照してください。
レイヤーを設定すると、マップの表示領域が自動的に更新されます。 そのため、マップをあらゆる方向に自由に移動して、最新の交通障害を確認できます。
多くの状況で、ドライバーは、都市内外での現在の渋滞状況に基づいて最速ルートを探しています。 HERE SDK を使用すると、現在のすべての渋滞を保持しているレイヤーをさまざまな色の線で表示して、渋滞の重大度をリアルタイムで常に更新することができます。 この機能を使用するには、オンライン接続が必要です。また、より多くのデータを消費します。 ただし、交通渋滞ルートはマップのタイルの一部として表示されるため、高性能です。
これらの交通情報は、いくつかのコード行でマップ上に表示することも、単独で表示することもできます。
_hereMapController.mapScene.enableFeatures({MapFeatures.trafficFlow: MapFeatureModes.trafficFlowWithFreeFlow});
_hereMapController.mapScene.enableFeatures({MapFeatures.trafficIncidents: MapFeatureModes.defaultMode});
新しいレイヤー状態の設定は同期的に実行されますが、以前にロードしておく必要がある有効なマップ シーン が必要です。 また、新しいマップ シーン の読み込み中に新しいレイヤーの状態を設定すると、例外が発生する可能性があります。 機能レイヤーを非表示にするには、次の番号を呼び出します。
_hereMapController.mapScene.disableFeatures([MapFeatures.trafficFlow, MapFeatures.trafficIncidents]);
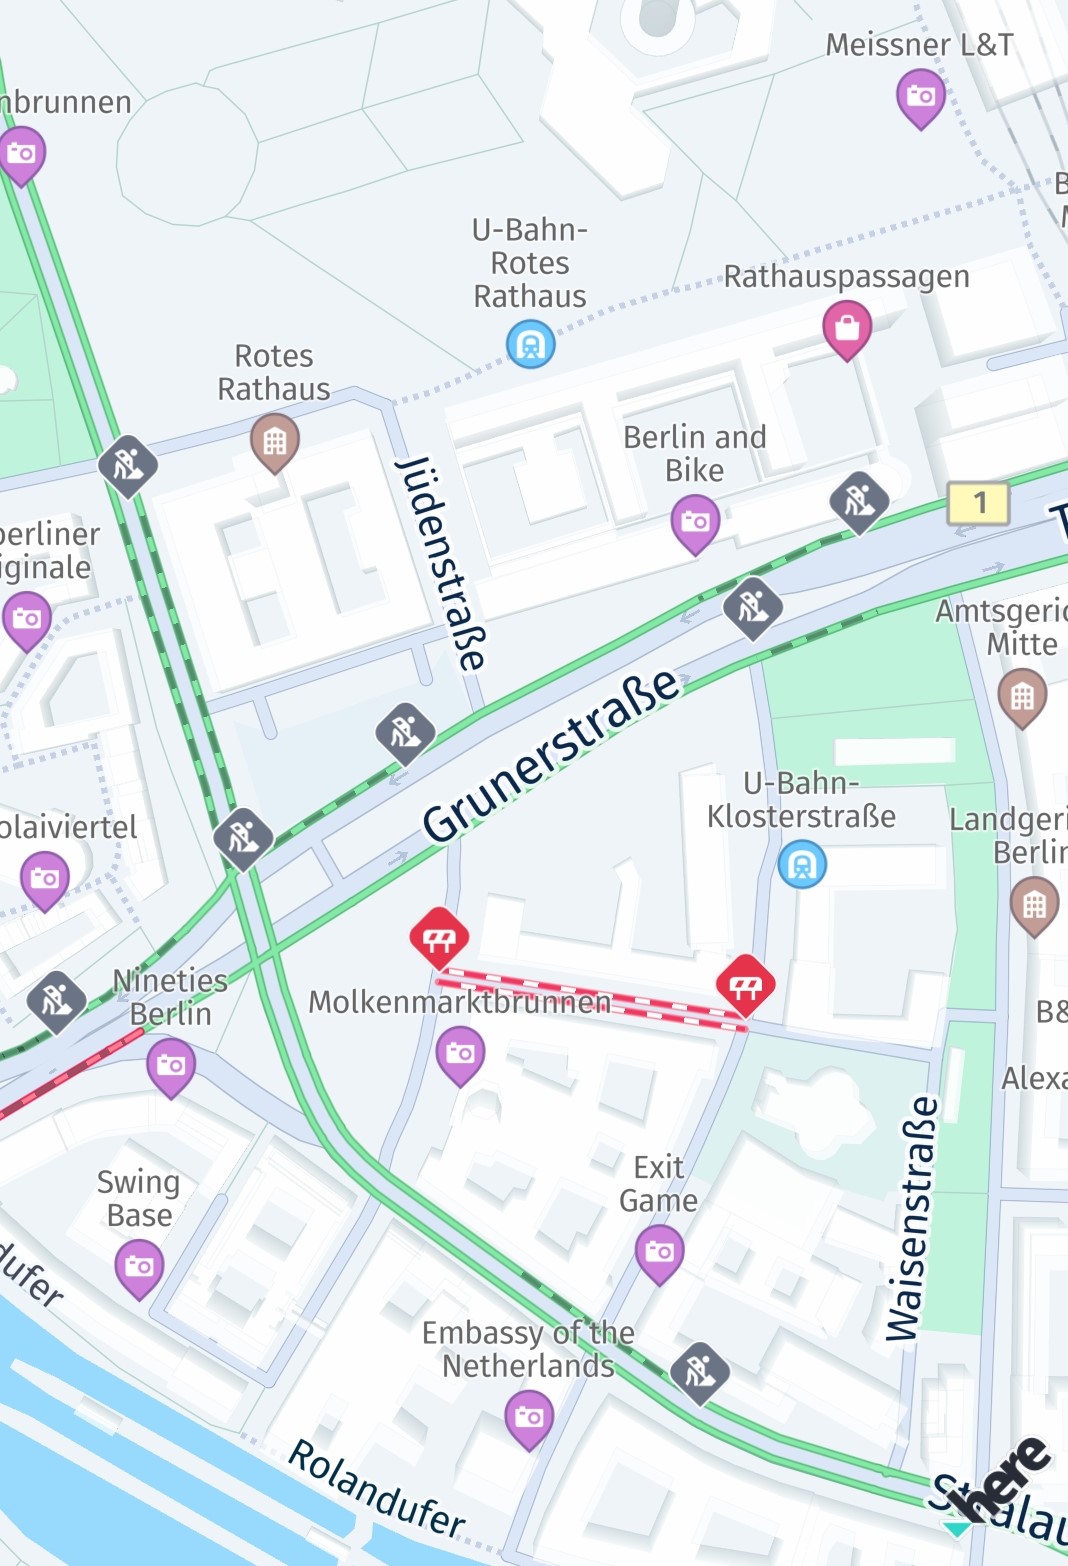
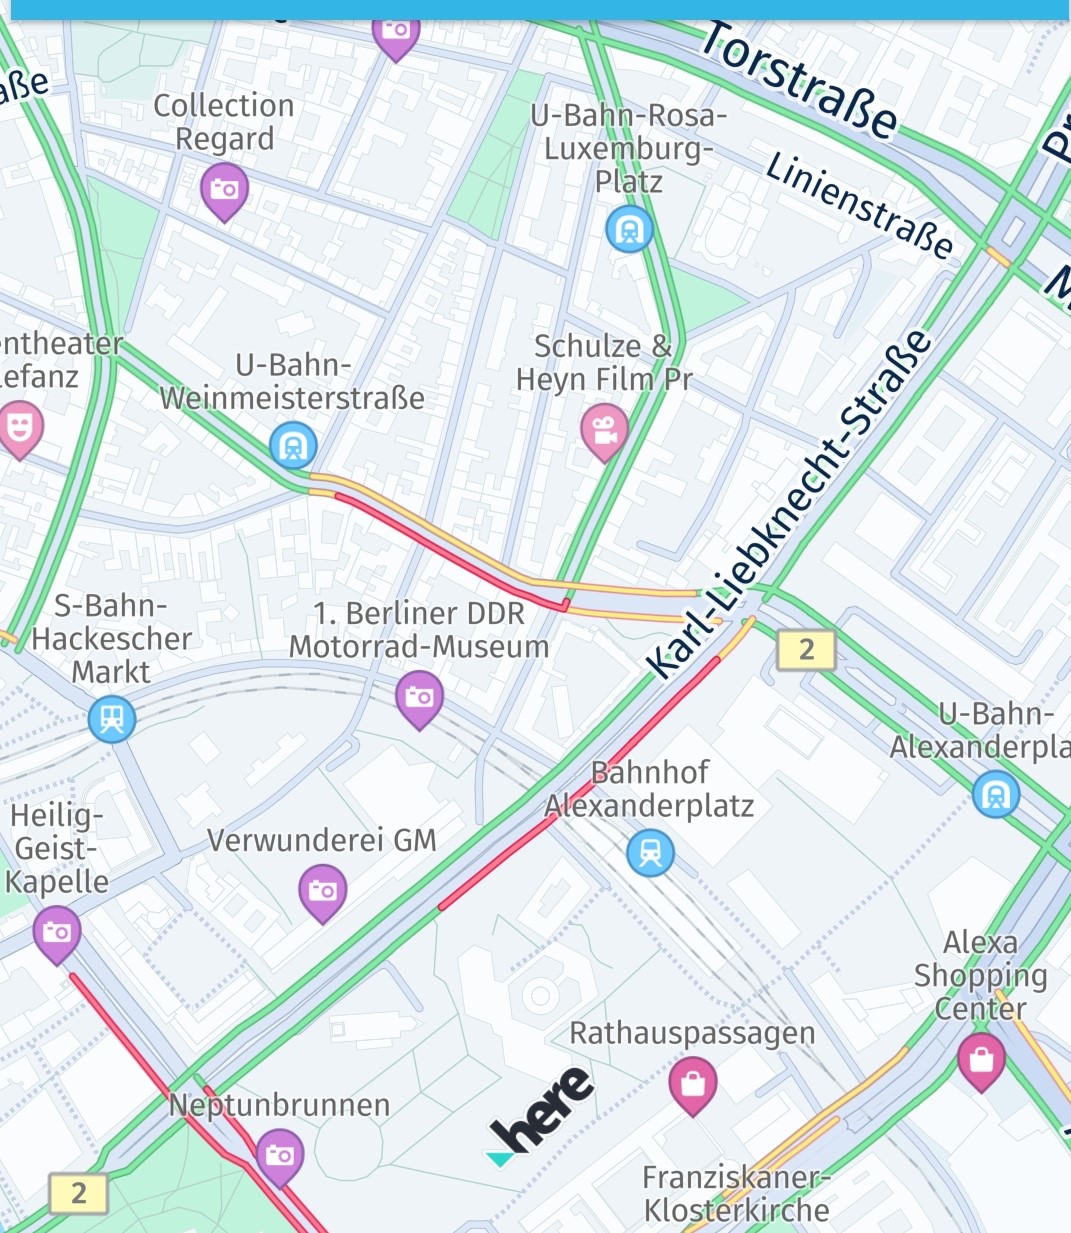
トラフィックフローラインは、次のように色分けされています。
- 緑 : 通常 の交通状況
- 黄色 / 黄色 : 渋滞しています
- 赤 : 交通量が非常に多い
- 黒 : トラフィックのブロック
GitHub では、 TRAFFIC_APP サンプルアプリの一部として使用例が提供されています。
マップから交通障害を選択
MapViewにtrafficIncidentsが表示されている場合は、タップハンドラを設定し、交通障害を選択して詳細情報を取得できます。
void _setTapGestureHandler() {
  _hereMapController.gestures.tapListener = TapListener((Point2D touchPoint) {
    GeoCoordinates? touchGeoCoords = _hereMapController.viewToGeoCoordinates(touchPoint);
    // Can be null when the map was tilted and the sky was tapped.
    if (touchGeoCoords != null) {
      // Pick incidents that are shown in MapSceneLayers.trafficIncidents.
      _pickTrafficIncident(touchPoint);
    }
  });
}

// Traffic incidents can only be picked, when trafficIncidents is visible.
_pickTrafficIncident(Point2D touchPointInPixels) {
  Point2D originInPixels = new Point2D(touchPointInPixels.x, touchPointInPixels.y);
  Size2D sizeInPixels = new Size2D(1, 1);
  Rectangle2D rectangle = new Rectangle2D(originInPixels, sizeInPixels);

  _hereMapController.pickMapContent(rectangle, (pickMapContentResult) {
    if (pickMapContentResult == null) {
      // An error occurred while performing the pick operation.
      return;
    }

    List<PickTrafficIncidentResult> trafficIncidents = pickMapContentResult.trafficIncidents;
    if (trafficIncidents.length == 0) {
      print("No traffic incident found at picked location");
    } else {
      print("Picked at least one incident.");
      PickTrafficIncidentResult firstIncident = trafficIncidents.first;
      _showDialog("Traffic incident picked:", "Type: " + firstIncident.type.name);

      // Find more details by looking up the ID via TrafficEngine.
      _findIncidentByID(firstIncident.originalId);
    }

    // Optionally, look for more map content like embedded POIs.
  });
}
タップハンドラを使用すると、タッチした位置がビューの座標で取得され、 mapView.pickMapContent()に渡すことができます。 ここでは、ポイントサイズの四角形を使用しますが、一度に複数のコンテンツを含めるようにより大きな領域に拡大することもできます。
コールバックには、 常にマップに表示される、TrafficIncidentResultが含まれているが、デフォルトの POI マーカーなどのその他の埋め込みタイプも含まれているPickMapContentResultがあります。 このタイプTrafficIncidentResult では、インシデントに関するほとんどの情報がすでに提供されていますが、利用可能なすべての情報を取得するには、 TrafficEngineを使用して(以下のも参照)、 ID で選択したインシデントを検索します。
_findIncidentByID(String originalId) {
  TrafficIncidentLookupOptions trafficIncidentsLookupOptions = new TrafficIncidentLookupOptions();
  // Optionally, specify a language:
  // the language of the country where the incident occurs is used.
  // trafficIncidentsLookupOptions.languageCode = LanguageCode.EN_US;
  _trafficEngine.lookupIncident(originalId, trafficIncidentsLookupOptions,
      (trafficQueryError, trafficIncident) {
    if (trafficQueryError == null) {
      print("Fetched TrafficIncident from lookup request." + " Description: " + trafficIncident!.description.text);
    } else {
      _showDialog("TrafficLookupError:", trafficQueryError.toString());
    }
  });
}
TrafficEngine を使用してインシデントを照会
TrafficEngineでは、進行中の交通障害に関する詳細情報を取得できます。 GeoCorridor、GeoBox、またはGeoCircle を介して、ルートに沿ったインシデントを検索できます。
また、複数のオプションを設定して、特定のタイプのインシデントのみを検索することもできます。 その結果、該当する車両タイプ、日付情報、位置情報、ローカライズ可能な説明、概要などの結果が得られます。
まず、次のもの TrafficEngineの新しいインスタンスを作成します。
try {
  _trafficEngine = TrafficEngine();
} on InstantiationException {
  throw ("Initialization of TrafficEngine failed.");
}
以下では、GeoCircle の内部で可能性のある、TrafficIncidentsを検索します 。
void _queryForIncidents(GeoCoordinates centerCoords) {
  double radiusInMeters = 1000;
  GeoCircle geoCircle = GeoCircle(centerCoords, radiusInMeters);
  TrafficIncidentsQueryOptions trafficIncidentsQueryOptions = TrafficIncidentsQueryOptions();
  // Optionally, specify a language:
  // the language of the country where the incident occurs is used.
  // trafficIncidentsQueryOptions.languageCode = LanguageCode.enUs;
  _trafficEngine.queryForIncidentsInCircle(geoCircle, trafficIncidentsQueryOptions,
      (TrafficQueryError? trafficQueryError, List<TrafficIncident>? trafficIncidentsList) {
    if (trafficQueryError != null) {
      _showDialog("TrafficQueryError", "Error: " + trafficQueryError.toString());
      return;
    }

    // If error is null, list is guaranteed to be not empty.
    String trafficMessage = "Found ${trafficIncidentsList!.length} result(s). See log for details.";
    TrafficIncident? nearestIncident = _getNearestTrafficIncident(centerCoords, trafficIncidentsList);
    if (nearestIncident != null) {
      trafficMessage += " Nearest incident: " + nearestIncident.description.text;
    }
    _showDialog("Nearby traffic incidents", trafficMessage);

    for (TrafficIncident trafficIncident in trafficIncidentsList) {
      print(trafficIncident.description.text);
    }
  });
}
見つかった各 TrafficIncident項目について、その説明を記録します。 ドイツで検索する場合、デフォルトではドイツ語で結果が表示されます。 次のように表示されます。
Berlin, Sachsendamm zwischen Gotenstraße und Priesterweg Fahrbahn auf einen Fahrstreifen verengt, Staugefahr, Bauarbeiten, bis voraussichtlich 20.02.2028
別の言語を指定することもできます。たとえば、次のように設定します。
trafficIncidentsQueryOptions.languageCode = LanguageCode.enUs;
MapSceneLayers.trafficIncidents は、障害の場所を示す交通アイコンと線をレンダリングするレイヤーであることに注意してください。。
各 TrafficIncident には、その場所を示すGeoPolylineが含まれています。 マップ上のタップした場所とポリライン に含まれている地理座標を比較することで、マップ上のタップした場所に最も近いインシデントを見つけることができます。
TrafficIncident? _getNearestTrafficIncident(
    GeoCoordinates currentGeoCoords, List<TrafficIncident> trafficIncidentsList) {
  if (trafficIncidentsList.length == 0) {
    return null;
  }

  // By default, traffic incidents results are not sorted by distance.
  double nearestDistance = double.maxFinite;
  TrafficIncident? nearestTrafficIncident;
  for (TrafficIncident trafficIncident in trafficIncidentsList) {
    // In case lengthInMeters == 0 then the polyline consistes of two equal coordinates.
    // It is guaranteed that each incident has a valid polyline.
    for (GeoCoordinates geoCoords in trafficIncident.location.polyline.vertices) {
      double currentDistance = currentGeoCoords.distanceTo(geoCoords);
      if (currentDistance < nearestDistance) {
        nearestDistance = currentDistance;
        nearestTrafficIncident = trafficIncident;
      }
    }
  }

  return nearestTrafficIncident;
}
もちろん、MapPolylineを追加することで、自分自身でインシデントのポリラインをマップに表示することもできます。 MapMarker インシデントのタイプに応じて、別のイメージを選択するように独自のアイコンを追加することもできます。
ラジオ局から交通放送を受信
TrafficDataProvider インターフェイスを使用すると、 HERE SDK は交通放送を提供するラジオ局の信号を統合できます。
TrafficBroadcastは RDS-TMC 形式を想定しており 、インターネットに接続されていない場合に使用できます。これにより、OfflineRoutingEngine はラジオチャネル経由で送信される交通データを利用できます。
トラフィックデータイベントを受信するには、メソッドtrafficBroadcast.activate() を呼び出す必要があります。
TrafficBroadcastは 、位置情報ソースから提供された新しい位置に継続的に反応し、LocationListenerとして機能します。 activate()のコールの種類にかかわら ず、位置情報を更新する必要があります。
注
インターフェイスを採用するには、特別なハードウェアが必要です。 詳細については、 HERE の担当者にお問い合わせください。 これはベータ版の機能としてリリースされています。